
Adding descriptions and images to questions
Give a question a passage, scenario or diagram to work from, with a description and up to three images. Check-ins can carry images too.
Updated 20 October 2026
Some questions need something to read or look at first: a source, a short passage, a graph, a diagram or a set of figures. Add it to the question as a description and up to three images. Students see it under the question, right where they answer.
When to use it: Reading a source, interpreting a graph or table, labelling a diagram, or any question that only makes sense with a scenario in front of the class.
You can add a description and images to any question (quiz, poll, open answer or file upload) in every session type, and to the check-ins you send. It’s available on every plan.
Add an image
There are three ways to add a picture:
- Image: select Image in the bottom right of the question box and choose up to three pictures.
- Paste: paste a screenshot or a copied picture straight into the question or the description.
- Drop: drag a picture anywhere onto the question. You’ll see Drop to add to this question.
Each picture appears as a small thumbnail under the question, showing Adding image… while it uploads. Saving waits until every image has finished, so a question is never saved without its pictures.
- Up to 3 images per question. The Image button greys out once you have three.
- PNG, JPEG, WebP or HEIC (iPhone photos), up to 20 MB each.
- Signal resizes large photos and removes hidden photo details, such as where a photo was taken.
- Remove an image with the cross beside it.
If you paste something that includes text, such as a picture copied from a web page along with its caption, Signal pastes the text only. Save the picture and add it with Image instead.
If a file isn’t a picture, you’ll see “That kind of file can’t be added. Add an image, such as a photo, a screenshot or a diagram.”
Add a description
- Select Add description under the question box.
- Type the passage, scenario, figures or instructions in the Description box. Bold, italics, bulleted lists and maths all work here.
- Keep it to 2,000 characters. The counter under the box shows how many you’ve used.
Opened it by mistake? Choose Hide while the box is still empty.
Describe each image
Under each thumbnail is a box that says Describe this image (up to 250 characters). Write what the picture shows and the detail students need, not just “a graph”.
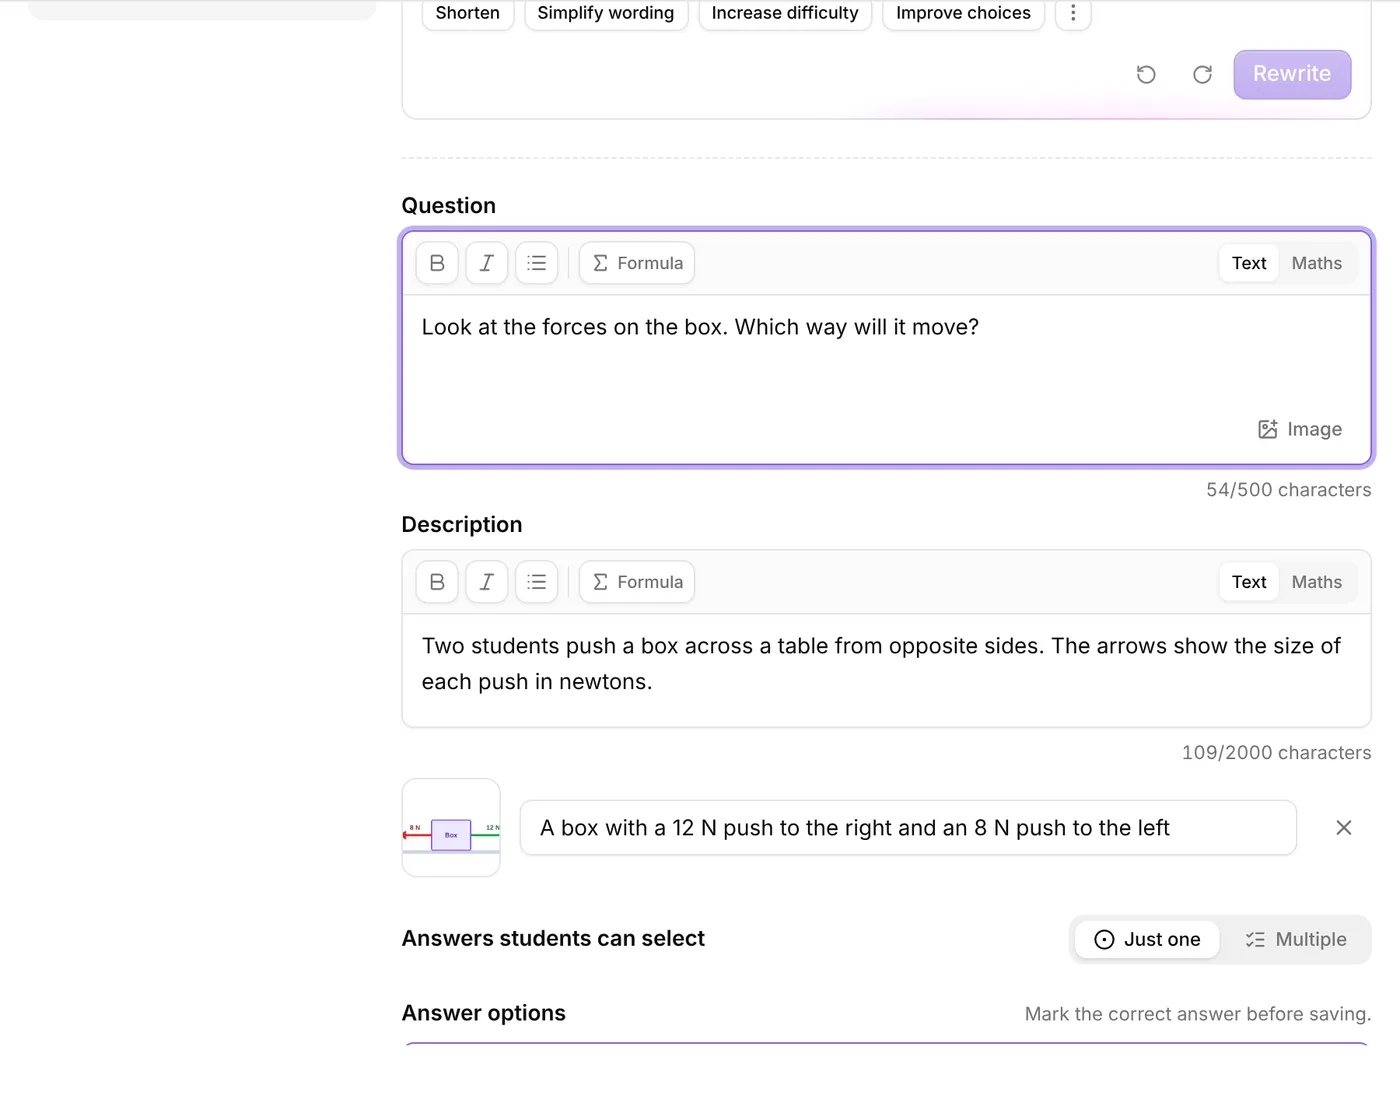
Screen readers read this out in place of the picture. Without it, students using one only hear a general label such as “Image for this question”. Nurture AI reads it too (see below).
What students see
The description sits under the question, with the images below the text.
- Long descriptions are shortened to about seven lines, with Show more underneath, so the answers stay in view. Shorter ones show in full.
- Images are never hidden behind Show more and never cropped, so nothing in a chart or diagram is cut off.
- Tapping an image opens it full size. With two or three images, students move between them with the arrows either side of “Image 2 of 3”, by swiping, or with the arrow keys.
Descriptions and images also show on the presenter view, in your results, in previews and on the printable versions of the session. A printed copy always shows the whole description.
Images on check-ins
Your own check-ins and posts can carry images and a description too: Comment, Question, Engagement, Reflection and, if your school has it, Disposition.
- Open the composer and choose the check-in type.
- Select Image, or paste or drop a picture.
- Add a description with Add description if you need one.
- Send it, or save it for later.
Students see the images wherever the check-in appears: on the session timeline, in the check-in they answer, and on the presenter view.
- You can’t add images to a reply, and students can’t add images to their own posts.
- You can change a prepared check-in’s images until you send it. Once it’s sent, its description and images can’t be changed.
Changing a question after students answer
A question’s description and images lock with the question text once any student has answered, because they’re part of what students answered.
How Nurture AI uses descriptions
- When you Create or Rewrite a question with AI, it reads your description and image descriptions, so the question fits the passage or picture. You can write the description first and then ask AI to write the question.
- Marking, personalised feedback and AI insights read the description and image descriptions too.
- AI never sees the images themselves. It’s told the question had images, and reads what you wrote under each one. If an answer depends on something in a picture, such as a value on a graph or a label on a diagram, put that detail in the image description.
- AI never writes or changes your description.
Good to know
- Duplicating a session or saving it to the Library keeps its descriptions and images.
- Leaving the editor while an image is still uploading cancels that upload.
- Want students to answer with photos or PDFs of their own work? That’s a different question type. See asking students to upload files.
Related articles
Still stuck?
We're happy to help you directly. Get in touch with the Nurture team.