
Using presenter view
Project a session without exposing your teacher screen — set the toggles, then share the presenter tab only.
Updated 26 August 2026
You’re projecting a session and want the class to see the question without exposing your own screen.
When to use it: Any time you put a session on a projector or shared screen.
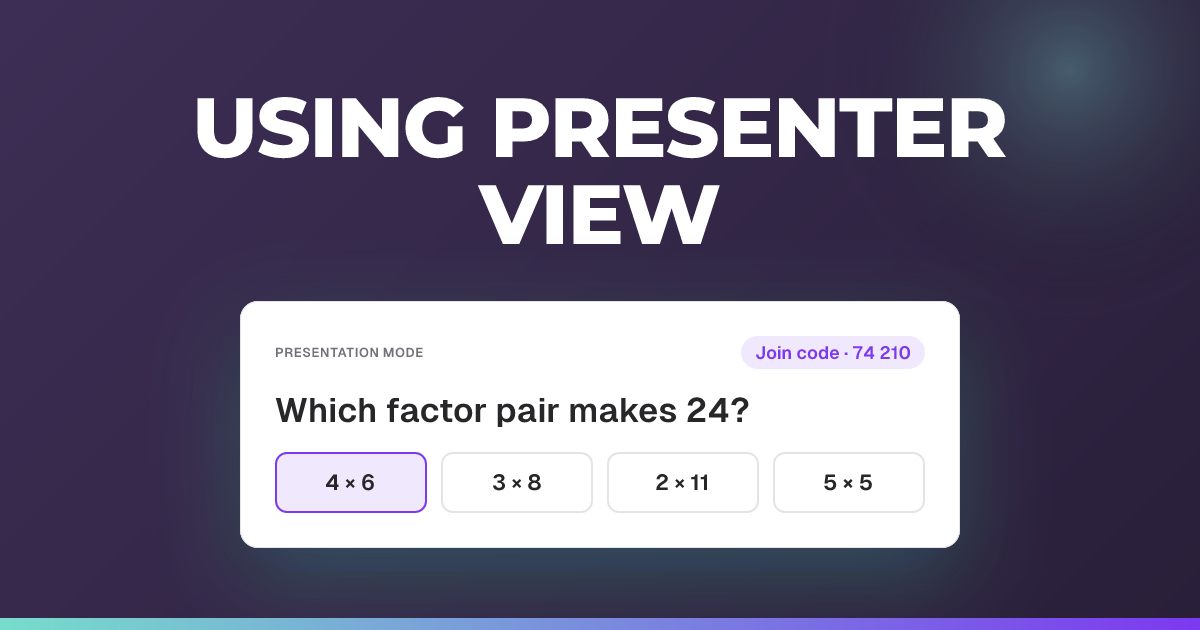
Presenter view opens a separate, projectable view of your session in a new tab — the question and its answer options, without exposing your teacher screen to the room.
Steps
-
Start your session.
-
Choose the three dots in the top right corner.
-
Choose Presenter view.
A panel opens, headed Presenter view, with the line “Configure how the projected view appears, then open it in a new tab.” Below that is a Settings section with the toggles, and a purple Open Presentation View button at the bottom. You will see two toggles in most sessions and three on a live quiz.
-
Set the toggles the way you want them (see below).
-
Choose Open Presentation View. It opens in a new tab.
-
Share or project that tab only.
Share the presenter tab, not the teacher tab
This is the step to get right. Presenter view opens in a new tab, separate from the tab you’re working in. If you share your whole screen, or pick the wrong tab, you’ll project your teacher view — and every student response becomes visible to the room.
When your projector or meeting software asks what to share, choose the option for a single tab or window rather than the whole screen, and pick the presenter tab from the list. It is the one titled with your session name, not the one you were just working in.
Check before you talk. Glance at what’s actually on the board before you start the question. If you can see student names or a results table, you have shared the wrong tab.
The settings
Two appear in every session type, and both are off by default. A live quiz adds a third, which is on by default.
Anonymous presenter mode — hides individual participants’ answers and responses on the projected view, so the room sees the overall picture rather than who answered what. Turn this on for anything you’re putting on a board. It lets you discuss a wrong answer without putting a name next to it.
Show participant reasoning on presenter — displays the written reasoning students typed, beneath the question results on the projected view.
Names are never shown on reasoning, whether or not anonymous mode is on. So you can put student thinking on the board without exposing who wrote what. Turn this on when the discussion is the point of the lesson; leave it off if you only want the answer distribution up.
On a live quiz there is a third: Hide live results until reveal. This keeps response totals, option rankings, participant choices and reasoning off the projected view until you reveal the answer or results.
Unlike the other two, this one is on by default, so a live quiz you project will not show the running count unless you turn it off.
Leave it on when you want the class thinking about the question rather than watching the bars move. Turn it off when the live count is the point — when you are running the question as a show of hands and want people to see the room disagree.
A good default for a live quiz is all three on — which means turning on the two that are not. Nothing appears on the board until you reveal it, and when you do, the class sees what the room actually thought: results and reasoning, neither carrying a name.
Why it matters
The screen you work from shows you everything — the key and every student’s response as it lands. Project that and you’ve handed it to the class. Presenter view is what makes the board safe to share.
Works well with
- Whole-class discussion. Put the question up, take a show of hands or talk it through, then bring the responses up.
- Classes without enough devices. You can run a question as a room activity from the board alone.
Related articles
Still stuck?
We're happy to help you directly. Get in touch with the Nurture team.